12.09.2010

Screen Door

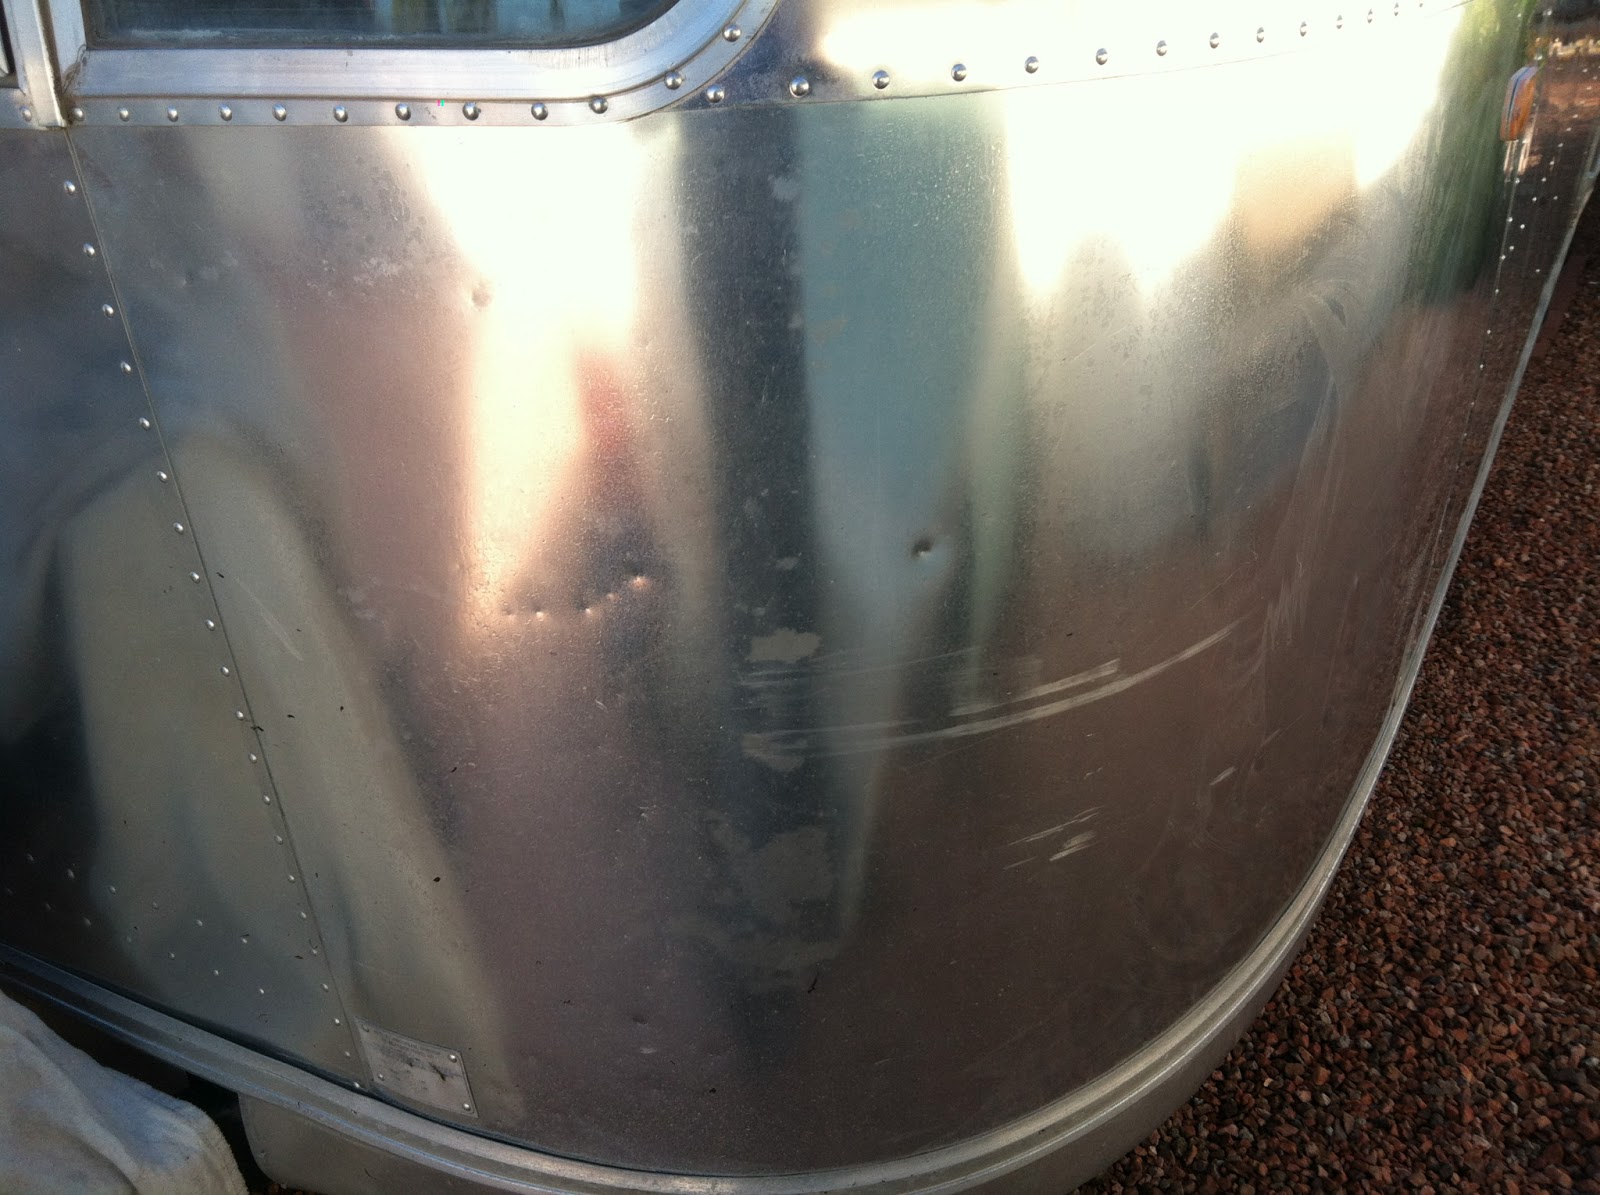
Underneath the calcium buildup is good aluminum. It will take CLR and tons of buffing, but it will eventually look new again.  

After using CLR and steel wool you can start to see the good aluminum appear. The next step is to start polishing using a three grade polish.   


Using a drill and a buffing wheel, I applied the first grade of polish and worked my way up. It took about a week to polish all of the screen door   

Nikki finishing up some cleaning on the screen door. Wow! Almost looks like new!   


That’s from using the drill; imagine what my face looked like   

12.06.2010

Polishing: the never ending job

One of the best improvements for an Airstream is polishing the aluminum. The average price for having an airstream polished is $125 per foot! WOW! That would almost come out to $7000-8000 for our airstream!  One thing comes to mind with a price like that “time to do it ourselves”.  The average time for one person to properly buff a 31 foot airstream is about 400- 500 hours. Although this will be labor intensive, it will save thousands of dollars and should only cost less then a 1,000 in the end. The pictures shows a “before and after” shot. Its not anwhere close to the mirror finish yet but you can see the improvment already. I removed the clear coat using an industrial paint stripper (aircraft stripper) and then started buffing. This picture was taken after I used the first grade of polish Nuvite F7. After about an hour of polishing, you can already see a huge difference.


I had the intention to build a scaffold from scratch but I realized that it wouldn’t be worth the work. My original thought was building it myself would save money but it really wouldn’t. I would have spent around 60-80 bucks at Home Depot in lumber with no value in the end, just wasted materials. Purchasing a scaffolding unit would not only be faster, safer, easier to setup and adjustable but it would be something I could sale after I was done with it. I picked this one up off CL for about 150 and should have no problem selling it again for the same price.


Before
Buffing is tedious but the reward in the end is amazing! Here is an example of what Nuvite polish can do. Notice the amount of damage in the before picture. Heavy scratches, heavy pitting and multiple dents. Nuvite F7 is capable of removing scratches and dents become less noticeable. I tried multiple brands of polish and stand behind Nuvite 100%. It's amazing how effective nuvite is. I know the price is high (1lb for 50 bucks) but a little goes a long way.


After


Before
This part of the airstreams had the most damage. But with about 3-4 hours of work it comes back to life


After.

All the lines you see are caused by the circular buffer. Those will be removed latter when the
Cyclo buffer is used.


Before


after


NUMBER ONE QUESTION ABOUT POLISHING:
QUESTION: “What do you seal the Airstream with after you’re done polishing?”

ANSWER: "Nothing"

Some people say you need to seal it with a wax or Walbernize. Sealing an airstream after polishing will help with oxidation and prolong your polish about another 6 months. But the down side is oxidation will eventually happen no matter what sealer you use. And after a year it will need to be polished again. But before that can happen the sealer you used will have to be removed first creating twice the work. In my opinion, just polish every 6 months or so. I went a year and it wasn’t that difficult to bring it back to a mirror finish.


Before
After


First I used aircraft stripper to remove the clear coat. I picked some up at auto zone and purchased some brushes to apply. Use heavy duty rubber gloves to protect yourself when you brush it on. After it bubbles up spray it off (I used a pressure washer). Once the clear coat is removed it’s ready for buffing. I used a 7” buffing pad on a rotary polisher and cover with terry cloth. Use Nuvite F7 polishing compound. I tried multiple compounds and stand by Nuvite 100%. Nuvite is a little $$ but a little goes a long way and personally I believe it to be at least 3x as affective then other brands on the market. Next you’ll need a Cyclo orbital polisher (with terry cloth). It’s the only way to remove the swirl marks left by the 7” buffing pad. I purchased mine used on craiglist.

To clean the black residue left behind by the polishing compound add 2 ounce (+or-) of vinegar in a spray bottle mixed with water. Spray the area and use a microfiber towel. For tough spots use terry cloth but be careful because terry cloth will leave scratches. The best way I found to remove residue is to cover the Cyclo buffer with the microfiber cloth or a clean Terry cloth. It works really well and is quicker than doing it by hand. Here is a list of what I used:

After the aluminum has been cut, finish using the cyclo with terry cloth and nNuvite "S" grade

 
Buffing pad: Presta Double or single sided BLACK wool cutting pad
http://www.amazon.com/PRESTA-Single-Sided-Cutting-Buffing/dp/B0082LFSPG

Buffing pad attachment: Quick connect adapter
http://www.autodetailingwarehouse.com/dewalt-polisher-makita-polisher-drive-adapter-DP1900.html

7in Sander/Polisher
http://www.homedepot.com/p/Makita-7-in-Sander-Polisher-9227C/100594840

Cyclo buffer:
http://www.eastwood.com/cyclo-model-5-dual-headed-polisher.html?srccode=ga220010&gclid=CMWBrfz24L0CFS1eOgodX3oAyw

Nuvite polish: F7 cut and finish with S
http://www.aircraftspruce.com/pages/cs/cleaners_znuvite/nuvitenushine.php

Terry cloth and Microfiber cloth


              Update as of 11/24/2014

So I just wanted to give an update on the polishing. I’ve had a few comments come in from “professional polishers” that give their opinion on my polishing methods. First, understand I am a DIY polisher. Second, understand that my technique are from information found on other websites and from airstream owners who have already gone through the process. I shopped around and was told prices of up to $9,000 to have mine polished professionally. I have spent a little over 400 bucks and it has been over a year since I have polished and I am COMPLETELY satisfied with the results. Now if I had the money and paid the 9k I’m sure our Airstream would have I shinier surface then it does now but "9k vs 400 bucks??" . I found polishers that were better, higher rpm but i could not afford them. I used what I had and it worked.  I don’t mind if a have to touch up every year or whatever it comes out too. All polished Airstreams have to be tuched up. The point is I achieved a shiny airstream WITH NO SWIRLS at 2,150% in savings with tools that did not run thousands of dollars. So… I’m sure there are plenty of wrongs and rights to my advice but people asked me what I did, not what professionals do. Here are some pictures about 1.5 years later. I will post more up-close.  


                              BEFORE


And here is the after. THIS IS A HUGE DIFFERENCE. And tust me, we get compliments anywhere we go. I have parked next to professionally polished airstreams and the difference was "marginal"


More pics:


Building tambour doors


I  researched different types of tambour doors and where to buy them. Unfortunately, Tambour doors are difficult to find locally and would most likely need to be purchased online. When it comes to restoration, I try to stay away from buying anything online. It’s hard to imagine what the doors would look like without seeing it first hand. Another problem was the price. Tambour doors are expensive. The only thing to do now is find out what it would take to build them myself. After doing research I found that it’s a very simple process given you have the right tools. I used the advice from online forums and also devised my own techniques that proved to be very useful. The interior of my airstream will be made of African mahogany. I start with 4x8 sheets and cover them with two layers of polyurethane. I found that the polyurethane alone was more effective than a cherry stain. My plan was to build the tambour doors out of the same wood I would be using throughout the airstream. This would give it a consistent custom look. The end result was Beautiful, custom tambour doors that took less then 6 hours to build.


First step was to cut the width of the door. In this case, the door is 8.25inches wide


Here you can see a line I drew from one corner of the uncut piece to the other corner. This is helpful when arranging the piece together after they are cut. You can either arrange them in the same order to form what looks like a solid piece of wood or rearrange them to get a really nice pattern. I rearranged them and the line helped identify whether similar pieces were to close together.

Each piece is individual cut


Make sure the canvas is nice and wrinkle free.


The trick to applying the canvas is pretty simple. I used Gorilla Glue and applied it to both the canvas and the back side of the tambour door using a foam roller. With all the pieces arranged, I used a have duty tape to hold all the pieces together during this process. After applying the canvas, I let it set for about 5mins. After 5min I flipped it over with the canvas side up and used an iron on a med heat setting. This really helped bond the two surfaces together.

Track


This is showing the old tambour dooor

Setting up the router bit using the old tambour as a guide


Finished piece


front side


rear side


With the tambour doors complete, the next step is to rebuild the box. The original box (scene in the picture) is made of aluminum. There is really nothing wrong with it, but I would rather have the outer face made of the same wood as the tambour doors.
One important step I encountered when building the tambour doors was the alignment of the tambour door pieces. If the pieces are not exactly vertical to each other, the two doors will not line up when closed. Make sure before you tape the pieces together that they are perfectly straight.  


12.04.2010

August 2010-Destruction Begins!

Day Two-July 31, 2010


Day Two was filled with lots of cleaning, disinfecting, and minor repairs.  Some family and friends came by to see what we had gotten ourselves into. At the end of the day, the Sovvy72 looked better than it had in a long time.